5.00 MM hook
hairband
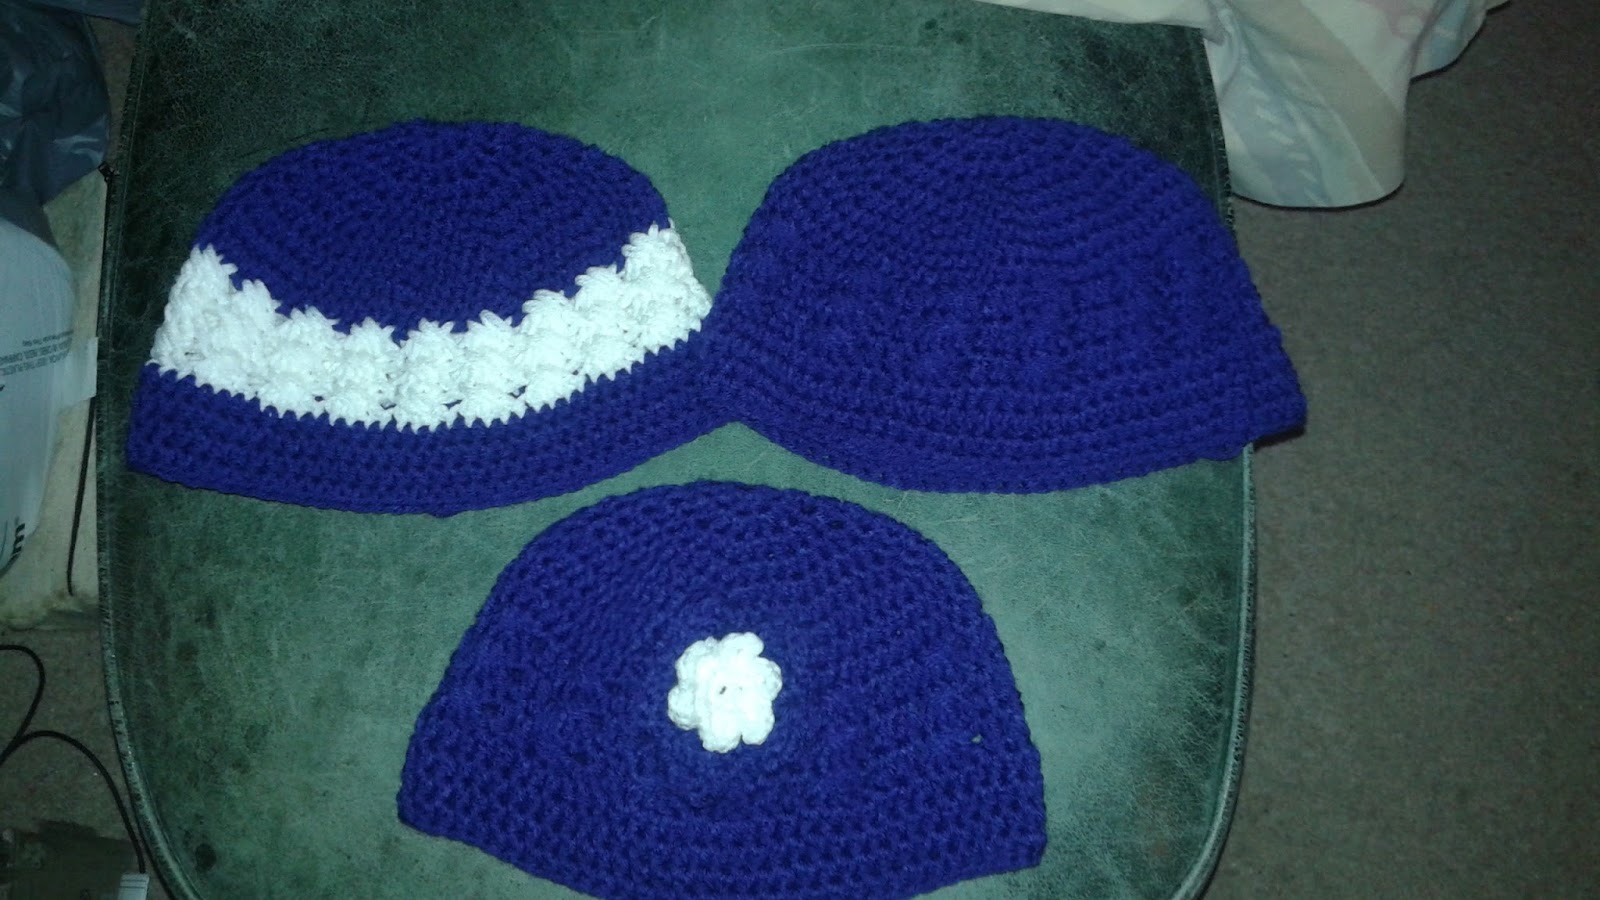
Instructions
Attach yarn to hairband with a knot
Rnd 1 Put 30 hdc around hairband join to first hdc (30)
Rnd 2 *hdc in first 2 hdc, 2hdc in next* rep betwn * around join (40)
Rnd 3 * hdc in first 3 hdc, 2 hdc in next,* rep betwn* around join (50)
Rnd 4 *hdc in first 4 hdc, 2 hdc in next* rep btwn* around join (60)
Rnd 5 *hdc in first 5 hdc, 2hdc in next,* rep btwn* around join (70)
Rnd 6 *hdc in back loop only of first 6 hdc, 2 hdc in back loop only in next hdc,* rep btwn * around join (80) circumference is 6 1/2"
Rnd 7 Dc in ea hdc around (80) join
Rnd 8 * sc, hdc, dc, hdc, sc* rep.btwn * around join (80)
Rnd 9 rep round 8 join
Rnd10 hdc in back loop only around join
Rnd 11 rep round 7
Rnd 12-13 rep round 8 join
Rnd 14* dc in next 5 sts, dc2tog, dc next 5,* rep btwn * to last 3 sts dc in last 3. join (70)
Rnd 15 *dc2tog, dc2tog, dc,dc,* rep btw * to last 3 sts dc3tog join (45)
Rnd 16 dc in ea st around join (45)
Rnd 17 hdc in back loop only around (45) join finish off.
With a small amount of pink purple make a flower
In a magic circle put 8 hdc join
*5 dc in first st, sc next st, rep btw *around join
5dc in sc,* sc next two dc, 5 dc next dc, sc in next two sc, 5dc in sc* rep btw * around join and sew with button in center to hat