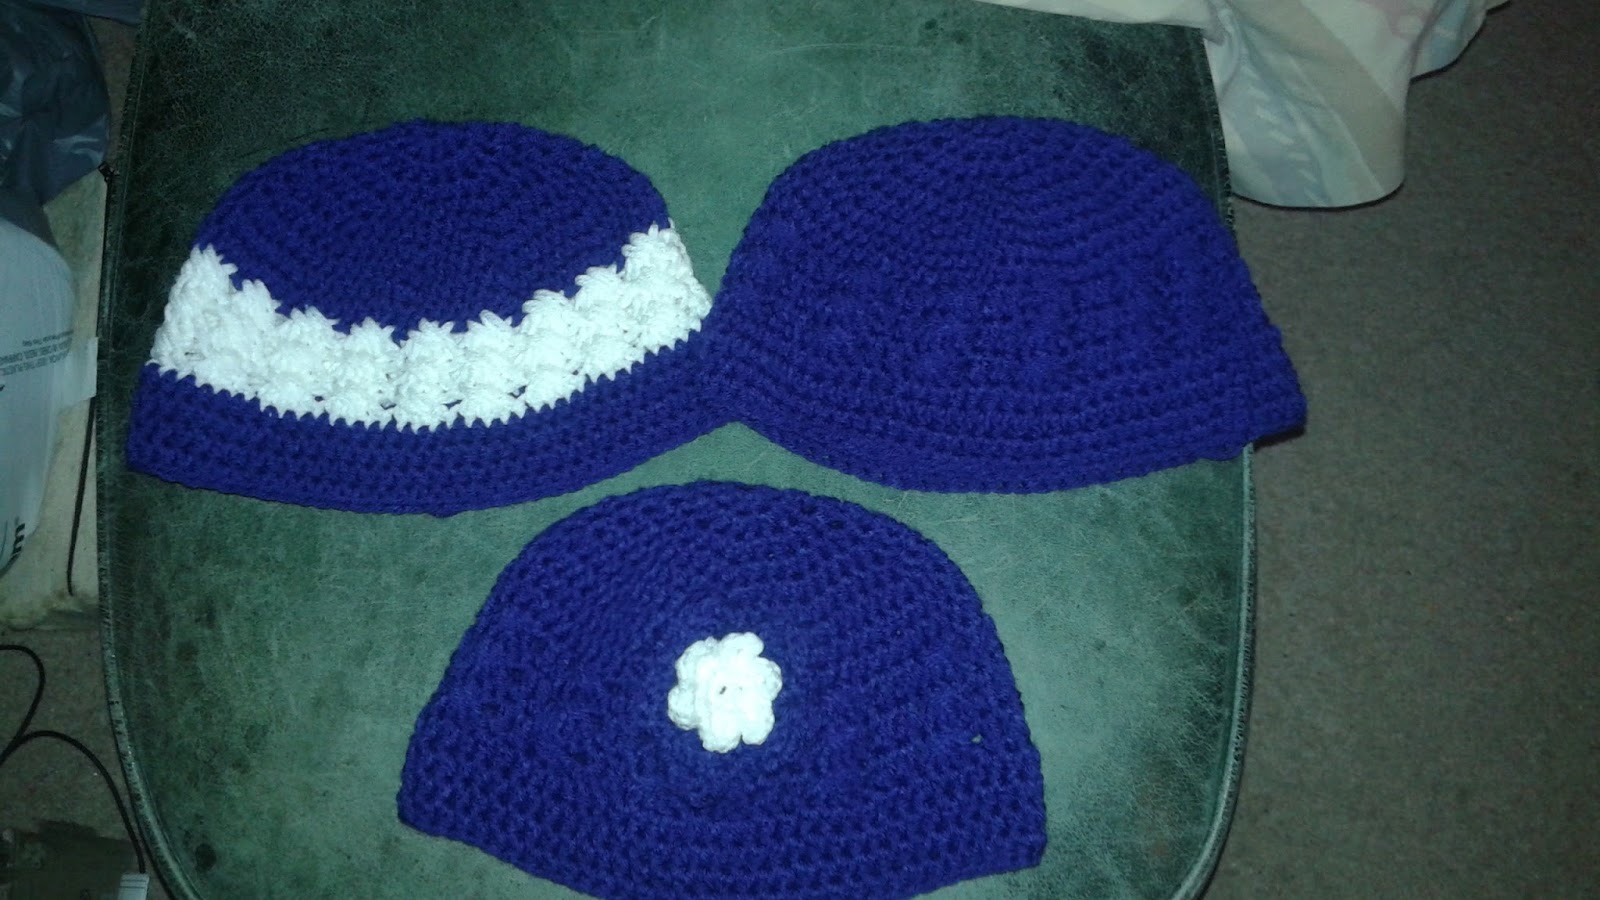
The pattern for the beanie is the same for each version. The first version is all one color like in this picture

The next version changes to white for the cable rounds 10-12 like in this picture

The last version is all one color except for adding the double layer flower like in this picture

Here is the pattern. I will like always say that I hope there aren't any mistakes but I am human and there could be. This is my pattern please do not sell or use as your own without giving me credit or linking back to my blog.
Crafter Secret A grape fit 4ply worsted weight yarn
Red Heart White 4 ply worsted weight yarn
I hook for hat
D hook white flower
E hook purple flower
RND 1 Magic circle 10hdc in circle Slip st into beginning hdc (10hdc)
Rnd 2 ch2 (counts as first hdc now and through out) hdc in same space, 2 hdc in ea hdc around (20m
hdc) sl st in top of chain 2
Rnd 3 ch 2,* 2 Hdc next hdc, hdc in next hdc*, repeat around from * sl st in top of ch 2 ( 30 hdc)
Rnd 4 ch2, hdc next hdc, *2 hdc next hdc, hdc in next 2 hdc rep from * around (40hdc) sl st top ch2
Rnd 5 ch2, hdc next 2 hdc,* 2 hdc next hdc, hdc next 3 hdc rep from * around sl st top ch2 (50 hdc)
Rnd 6 ch2, hdc next 3 hdc, * 2 hdc next hdc, hdc in next 4 hdc, rep from * sl st top ch2, (60 hdc)
Rnd 7 ch2 hdc next 4 hdc, *2 hdc next hdc, hdc next 5 hdc repeat from * around sl st top ch2 (70 hdc)
Rnd 8-9 ch2, hdc in each hdc around, sl st top ch 2
Rnd 10 ch3 (first dc), DC next st, *skip 2 sts, DC next 2 sts, DC in first DC skipped, DC 2nd DC skipped ( Cable made), DC next 2 dc,* rep from *-* around sl st top choice 3
Rnd 11- 12 repeat rnd 10
Rnd 13-16
Ch2, hdc around
Flower white
With D hook make magic circle and do 6 SC in circle. Sl st to first sc. *
Ch4 (first tc) 3 more tc and sl st in same st. Sl st in next sc,* rep frim *-* around. Sl st to first choice of first ch4
Purple flower same as white but use E hook. 2nd round trc in each trc, hdc in each SC around
Sew white to center of purple flower and sew to side of hat.
As always let me know if you make this hat and share pictures.
Until next time Keep on Crafting and Crocheting!